Now that I have my own car, I need to learn how to maintain it. J noticed I had a slow leak in one tire, so every morning I'd check it, and when it was too low, I would add air with a handy compressor that plugs into your car lighter (12V).
Unfortunately, the leak kept getting worse until I had to add air every few days! I thought that meant I had to go buy a new tire. Apparently that is just funny. All you really have to do is get the problem patched, unless the tire is blown in which case, I wouldn't be driving on it at all!
Here's how to fix your leaky tire. First, check to see if it is leaking where the tire rests on the rim. We did this by spraying really soapy water all around the area and watching for bubbles to expand. We didn't find anything (so I can't tell you how to fix that), so then we took the tire off the car and checked for nails.
Bingo!

We took the nail out with pliers. That left a biggish hole. The next steps were done using a 10$ patch kit from Canadian Tire.

We roughed up the rubber where the hole was with this file. This helps the patch stick.
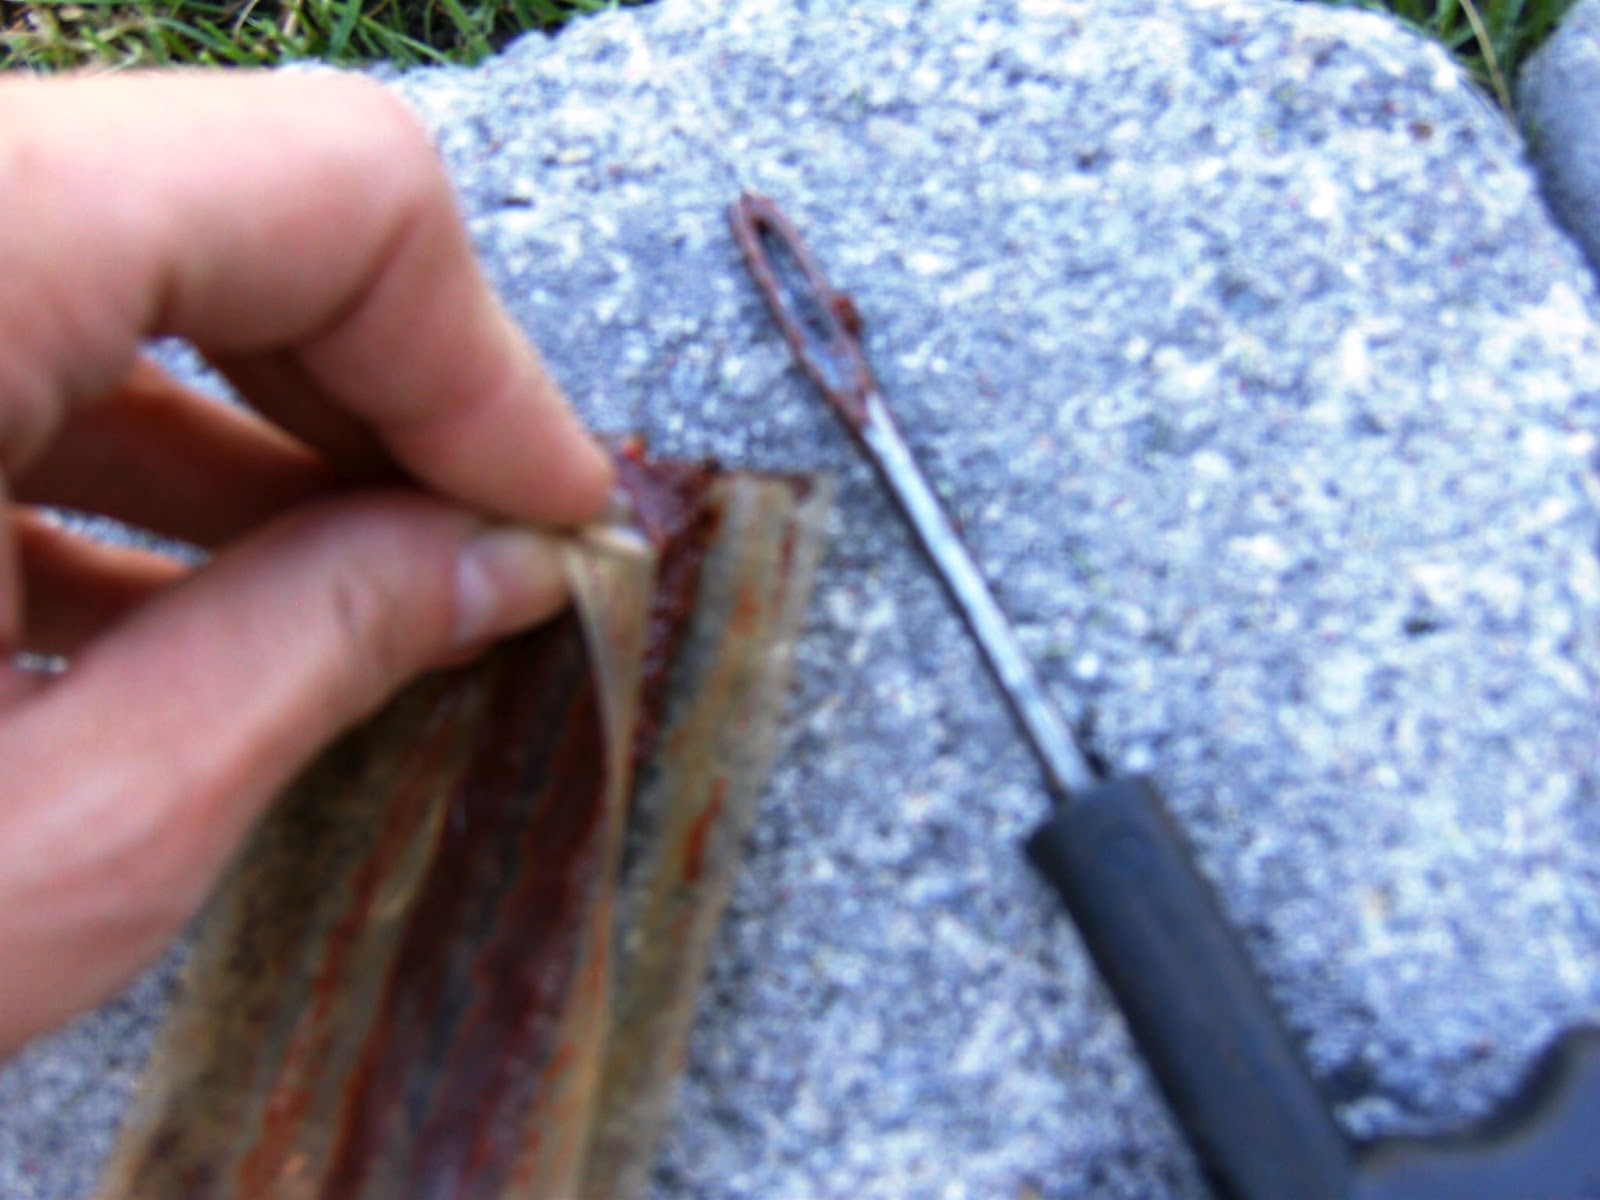
The kit has several patch strips. We warmed them up on the hood of the car in the sun, then peeled off a strip and inserted it into the eye of the second tool (above). This tool looks like a needle but the points are not joined. The patch piece is inserted into the hole with the help of the needle, and the needle can be pulled out while leaving the patch in the tire.

Leave a bit of the ends sticking out of the tire, but get most of the patch in there.
That's it! All there is to it. So a patch kit for approximately $10.00 can make 5 repairs. A garage might charge $20.00 to do this job for you, each time. And if you were clueless about cars like me, they might even sell you a brand new tire instead of letting you know it can be fixed...
No comments:
Post a Comment